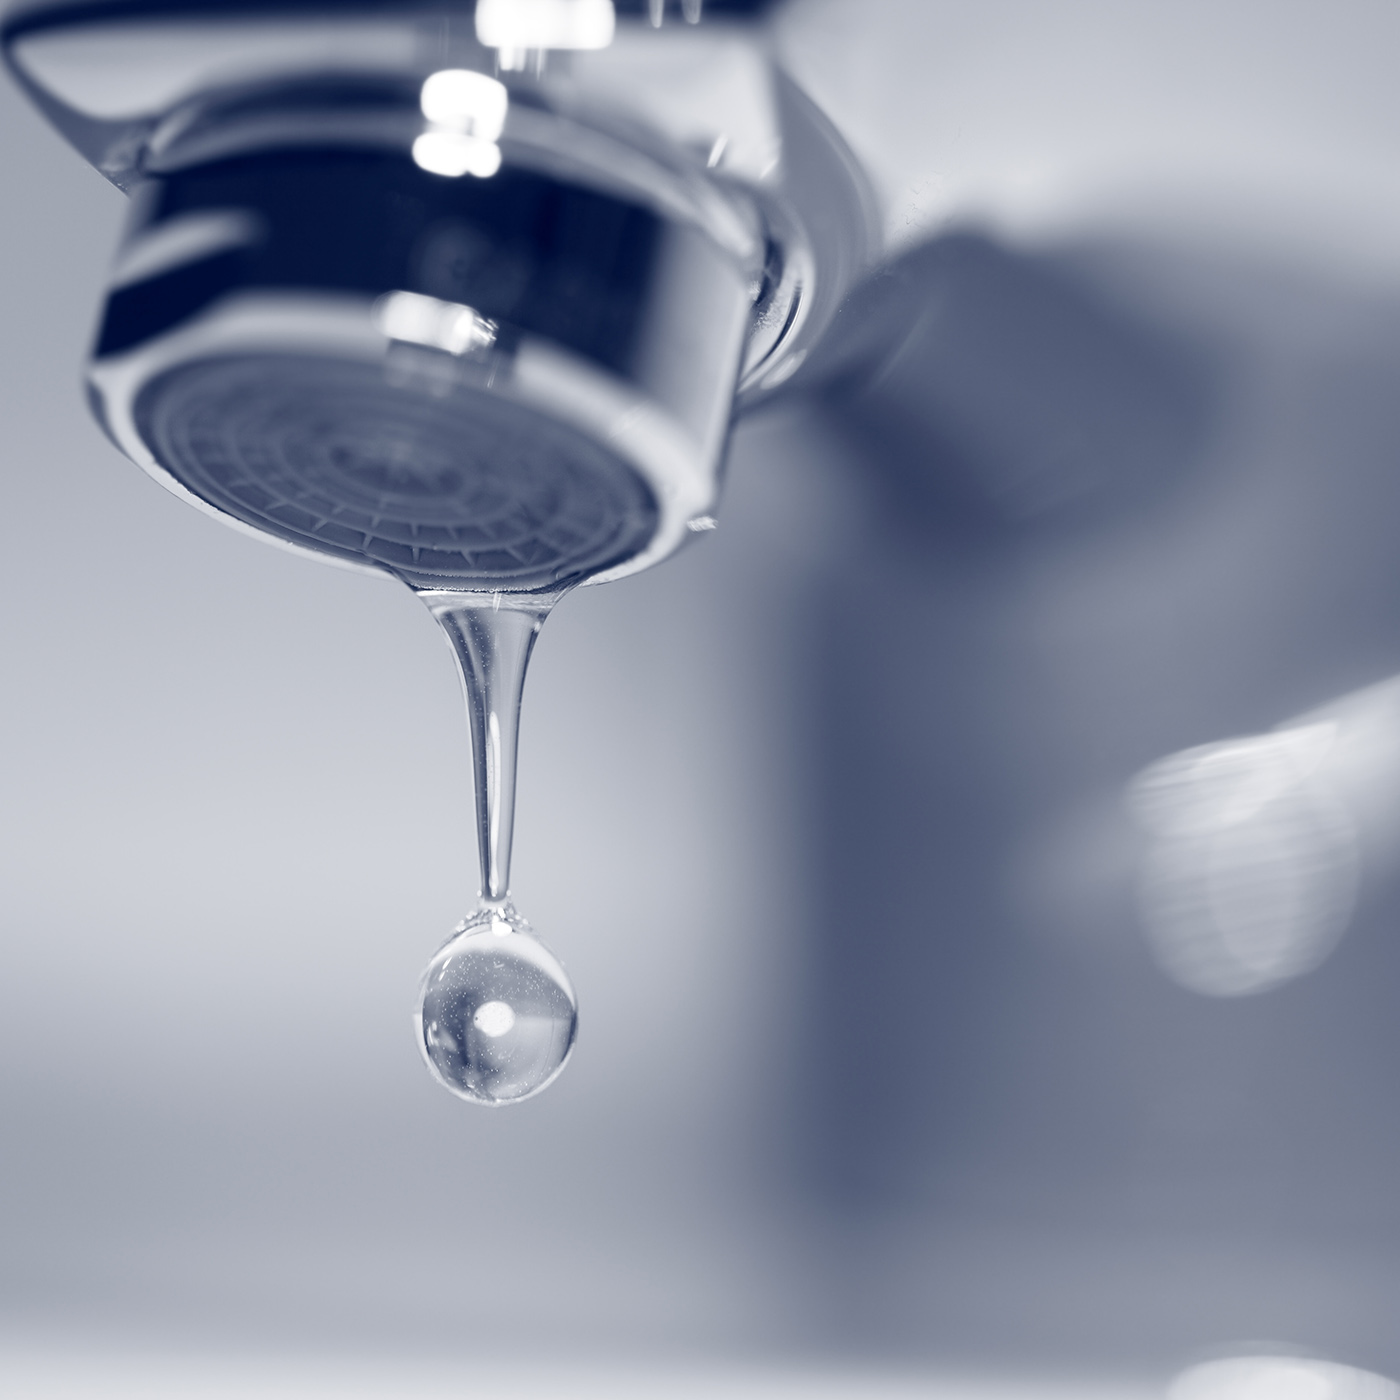
A dripping tap can be hugely annoying, and in most cases, the culprit is the washer. As such, knowing how to change a washer and fix the drip is a great skill to have. Not only will you be able to solve the problem quickly, but you also won’t have the expense of paying someone else to do it.
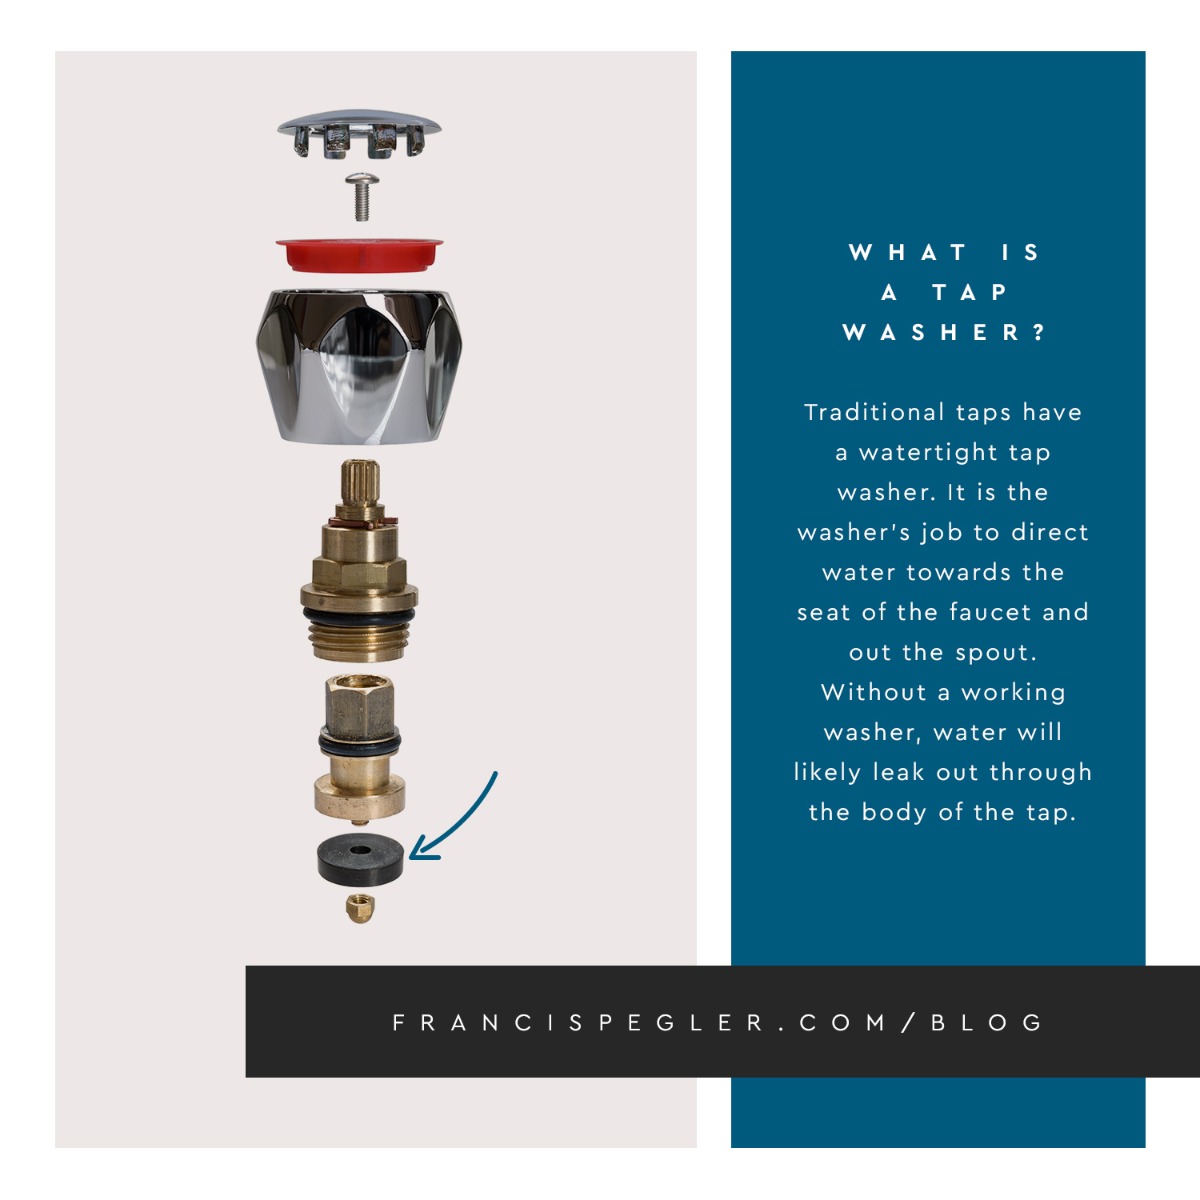
What is a tap washer?
Traditional taps have a watertight tap washer. It is the washer’s job to direct water towards the seat of the faucet and out the spout. Without a working washer, water will likely leak out through the body of the tap.
At STH Westco (our sister company), we stock a wide range of quality tap washers. However, over time, washers do get worn and stop working. The result is usually a leaky tap. The good news is that washers are not expensive, tend to come in standard sizes, can be bought in packs so you always have one to hand, and fitting a new one is straightforward.
Does your tap have a washer?
The first thing to figure out is whether your tap has a washer or not. Today, some modern taps are washerless. The washer sits underneath the valve of a tap. It is easy to see if a tap has a washer once it is dismantled, but it is best to check with a qualified plumber/installer if you are in any doubt. Taps without traditional washers have ball valves or ceramic discs instead and tend to require less maintenance. If you want to help eliminate the problem of dripping taps, it is worth investing in new washerless fixtures to improve long-term durability.
What do you need to replace a faulty tap washer?
You need very few tools to replace a faulty/worn washer. In fact, all you need is:
• Your new washer
• A screwdriver
• A spanner/wrench
• A towel
You might also need:
• A cloth
• Pliers
• Penetrating oil
How to replace a tap washer
PREPARATION IS ESSENTIAL
To ensure you do not flood your kitchen or bathroom, the first thing you need to do is locate your water supply and turn it off. You can turn your water off at the mains (the stopcock) or simply find the supply to the dripping tap. The latter is done via an isolation valve underneath the tap in question. If you are changing the washer on a hot water tap, you must also turn off the heat supply (boiler/immersion) to that tap.
Before you get on to dismantling the tap, we would also recommend plugging the sink to ensure you don’t lose any parts down the drain. It would be best if you also placed a towel in the sink bowl to protect it from any knocks, scrapes or drops.
DISMANTLE YOUR TAP
Now you have completed the preparation, you can dismantle the faulty tap.
Use the screwdriver to remove the cover from the tap and then the spanner to loosen and remove the valve. You might need the spanner to help if the valve is stiff (but protect the tap from scratches with the cloth if necessary).
Next, remove the washer. It might just pull off with pliers, or you might need to remove a small nut or screw. If it is stuck, use some oil to loosen (and give it time to soak and do its job). At this point, it is worth checking the tap valve to ensure it is in good condition. While you can fix a defective valve at home, it might be best to call a plumber.
You can usually fix mixer taps the same way as individual ones, but you will need to figure out which faucet is dripping. To do this, turn off the water supply to each tap separately and see when the leaking stops.
REPLACE THE WASHER
Once you have removed the washer, replace it with a new one of the same size.
REASSEMBLE YOUR TAP
Next, you should reassemble the tap so that it fits the same way it did before. Do not overtighten the valve.
FINISH UP
Finally, put the water (and the heater) back, tidy up the sink, and check to make sure the drip has stopped. It really is that easy!